Boolean/ Scan / Download / Tidy / Revisit / Repeat!!!
LinkedIn is the world’s largest database with more than 450 million people listed on there. This means that if you are looking to generate B2B leads, it is pretty certain that every potential company that you are going to sell to is listed there. This is incredible as it means that as long as you know how to find your target market, you can always find the right people to connect with and hopefully sell to.
In this blog I will show you exactly what you can do with all this potential of people out there, how to find the right data, how to tidy that data, and then how to use the Dux Soup Revisit option.
Step 1: it’s all about the Boolean!!

With 450 million people out there on LinkedIn, you need to be very slick at how you minimise this list to only people that are suitable for you. I am going to use the example of a fashion startup looking to connect with Fashion Designers to show how to use the Boolean search function:
(1) On top left of LinkedIn go to search and then click ‘people’

(2) Then click on ‘all filters’

You will see the following screen (if you are using Sales Navigator you will see a different screen but I will talk about that in a seperate blog)
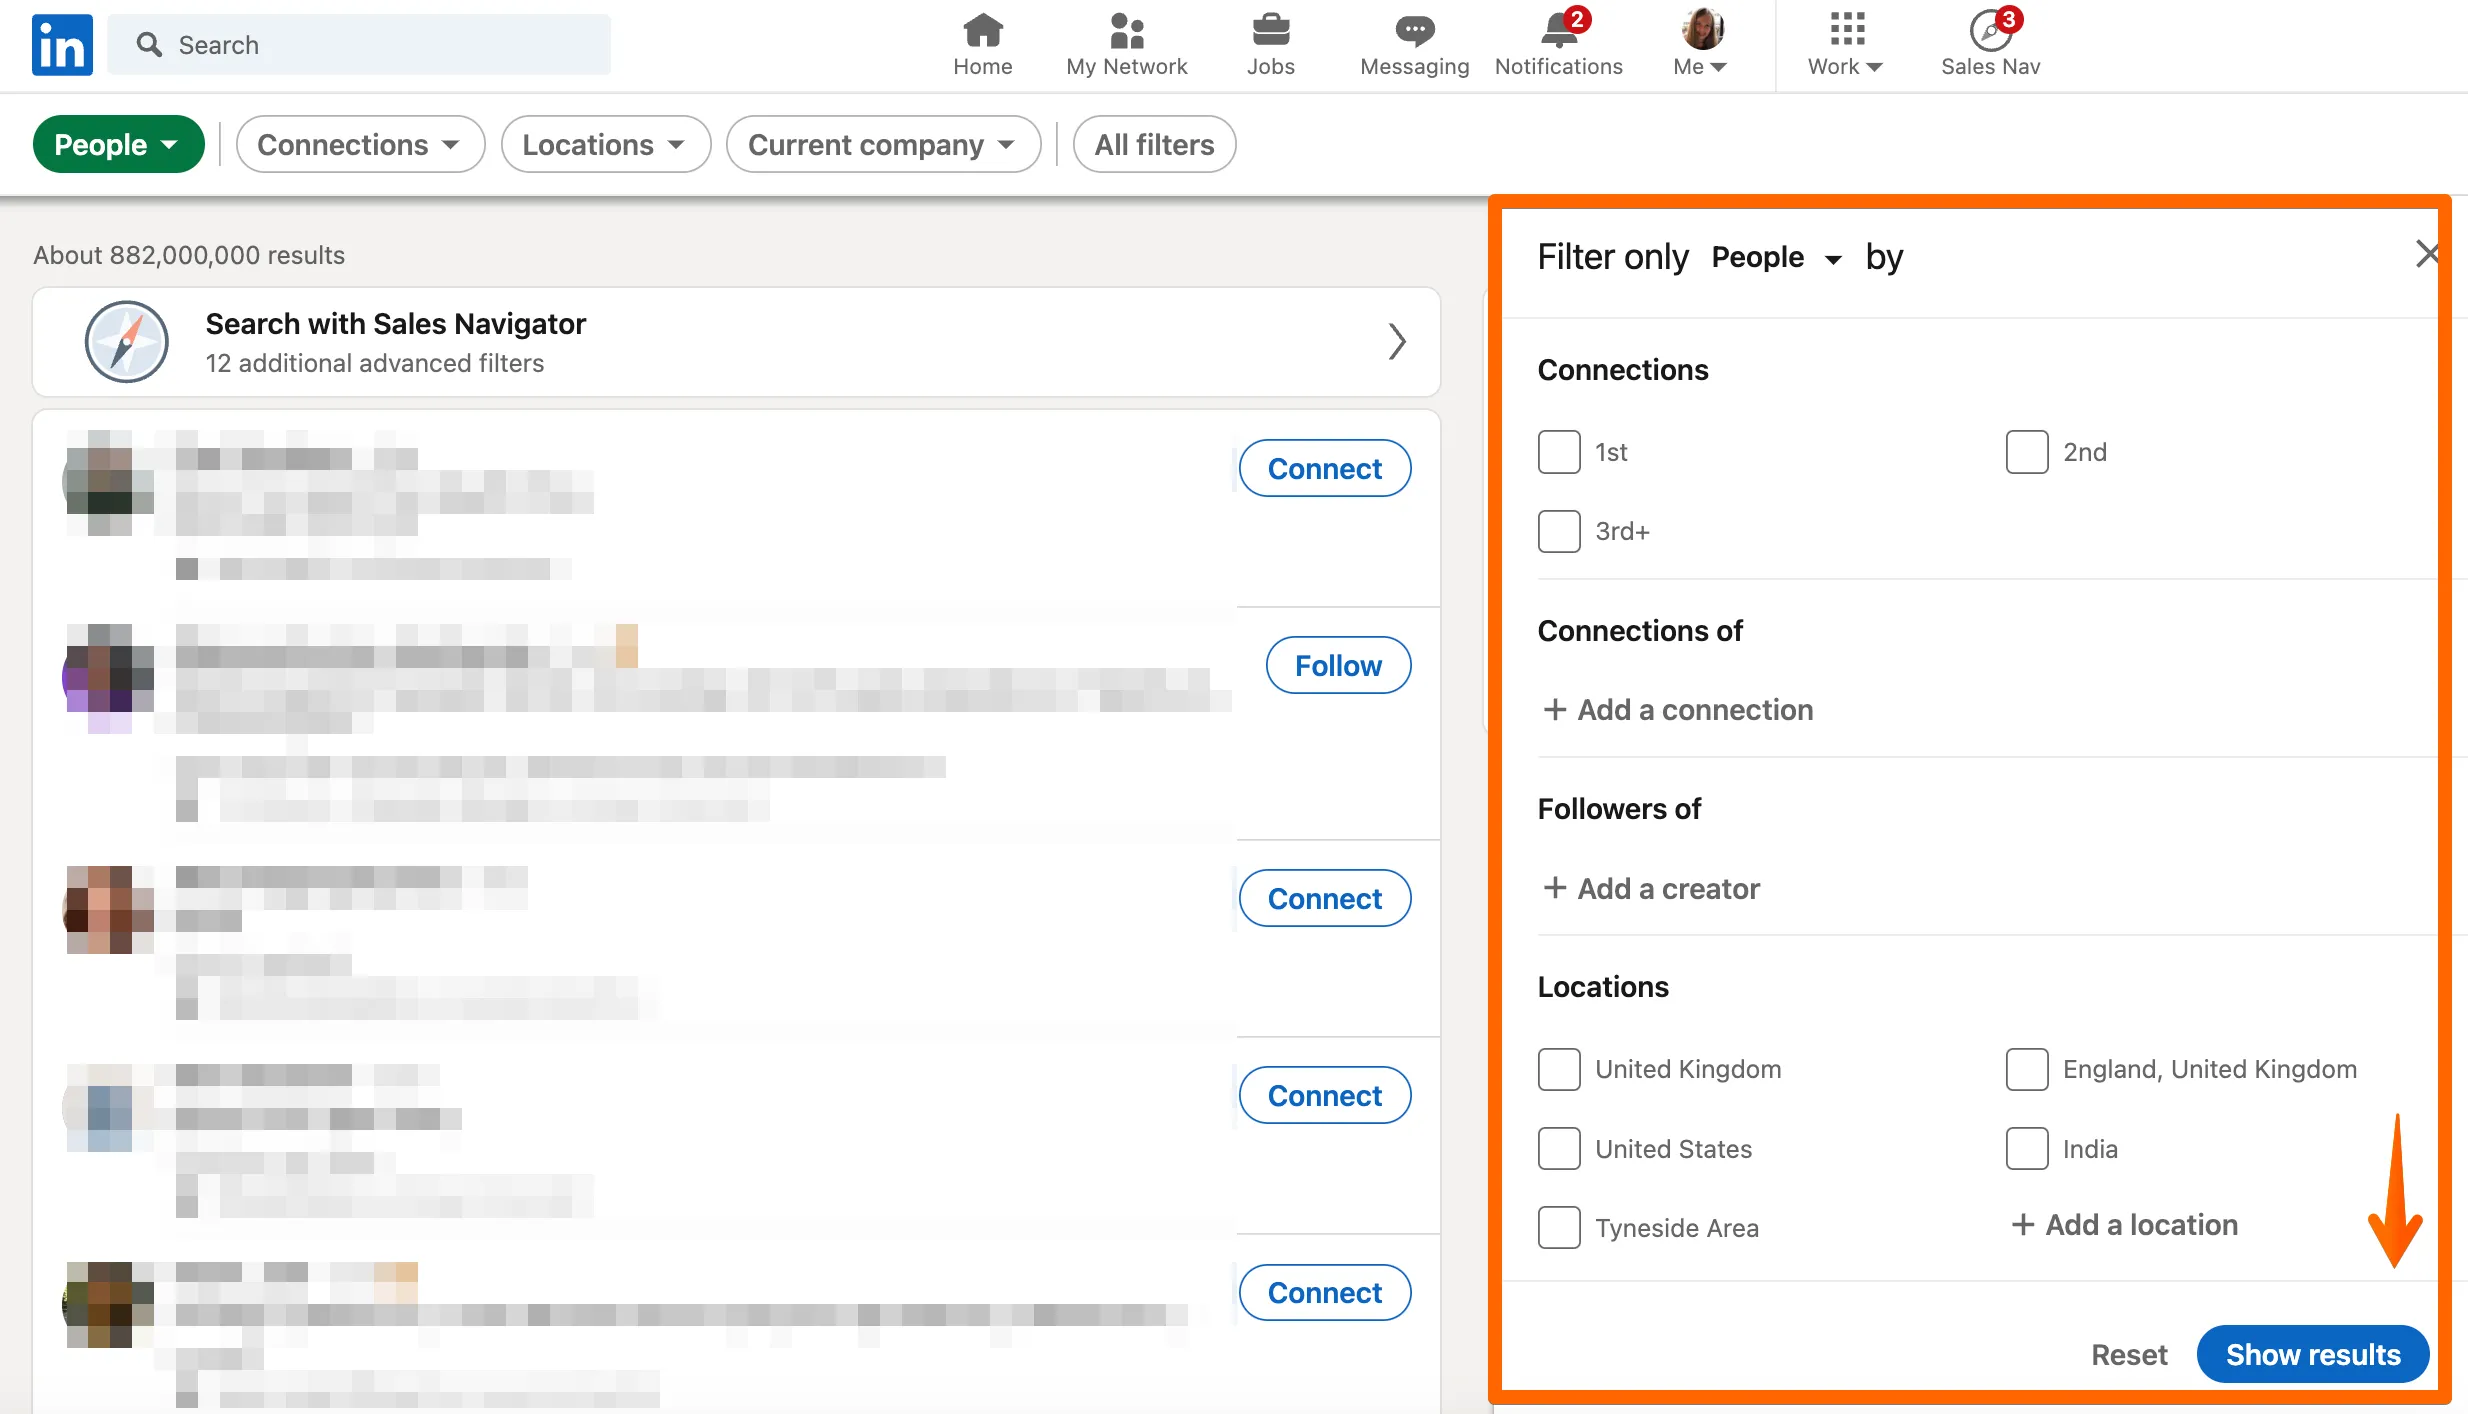
This is where the Boolean magic happens!!! Firstly, you need to pick all the basic criteria that you know, e.g. I will choose Location United Kingdom and The United States, Apparel & Fashion for Industry and Profile language English. Also, I will choose connections ‘2nd’ as I want to connect with new people and you are more likely to have the connection accepted if you have connections in common!
Once you have all that set up, don’t press ‘Apply’ yet as you need to add the ‘Title’ and this is where the Boolean search takes place. The roles I am looking to connect with are Founder, Co Founder and Creative Director. Therefore, in the ‘Title’ section I am going to use this search:
“Founder” OR “Co Founder” OR “Creative Director”
Feel free to copy this format and just replace it with your search terms. If you do this correctly and press enter, you will see something like this:
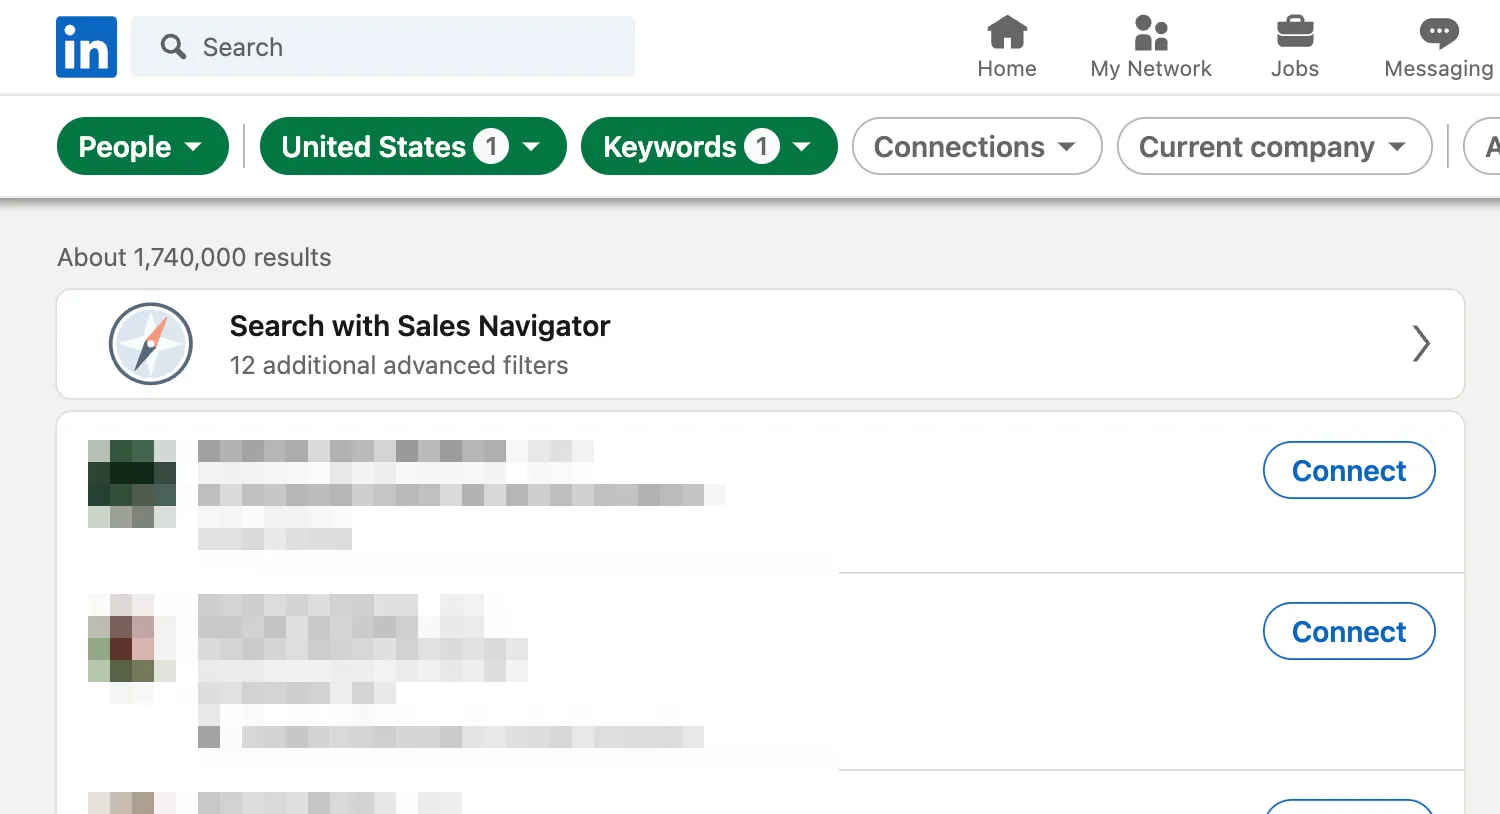
I have just narrowed my search down from 450 million to 323 people who would be my target market.
All good so far? Ok, stay with me as there is an extra bonus!!!! If you look through your data, you will see that some job titles may not be relevant. For example, even though I am searching for Founder, Co Founder or Creative Director, this profile has shown in my search results:

No disrespect to Daniel and I am sure you are an awesome guy, just for my search criteria I have realised that I want to remove anyone with the title ‘Sales Director’ as they are not relevant. This is where we intro the ……. Negative Boolean Search.
Go back to ‘All Filters’ and in the title section I currently see:
“Founder” OR “Co Founder” OR “Creative Director”.
Now add the roles you do not want to see by adding NOT and then the role, in this instance ‘Sales Director’ so your search looks like this:
“Founder” OR “Co Founder” OR “Creative Director” NOT ‘Sales Director’
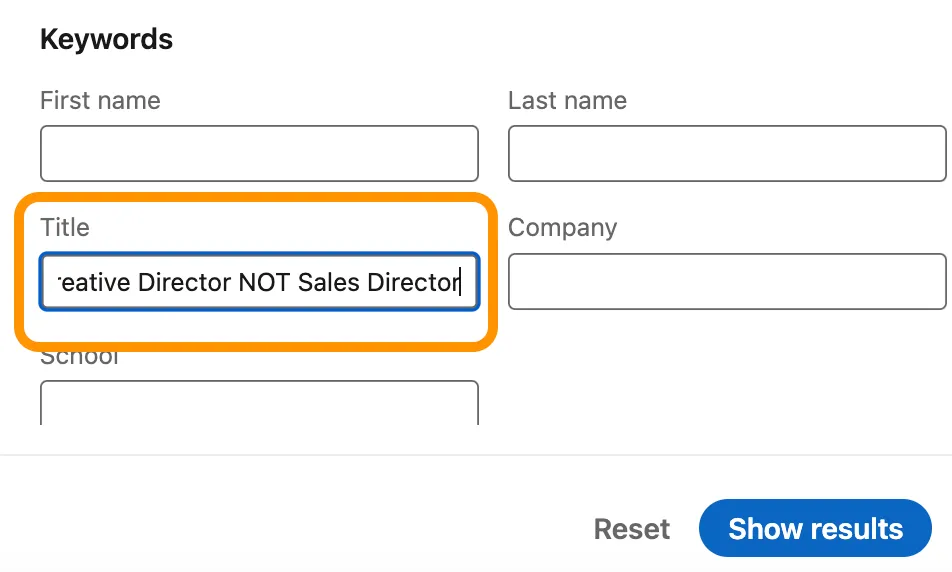
Then click apply and check your results. You should see that the number of results has now reduced. You can do this a number of times until you feel that the search criteria is ideal.
Step 2: Scan Scan and away!
With a perfect target market of all your data, you now have two options that you can do with Dux-Soup. You could simply choose to visit all profiles and connect with them all. If you want to do this just click on the Dux-Soup icon in your Chrome browser and choose ‘Visit & Connect’
However, I am not ready to visit profiles, as I want to use Dux Soup to build a big database of all contacts first. Therefore, I am going to choose the ‘Scan Profiles’ function.
By choosing this, it will mean you will scan through all the profiles without anyone knowing you have looked at their profile (so sneaky!)
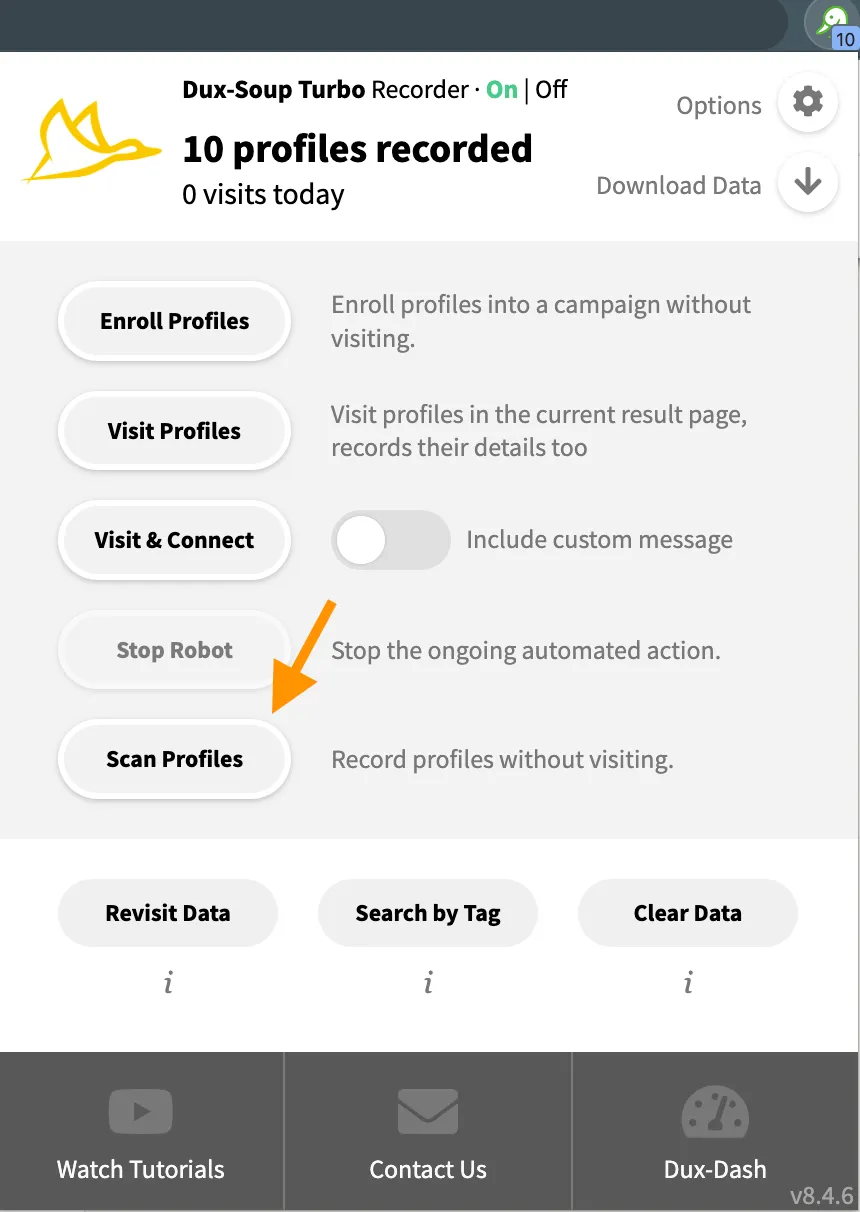
Once you click scan profiles, you will see the following image and the Dux will be working hard running through all the profiles.
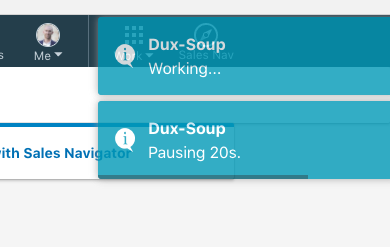
This will work on anything up to 100 pages searches. No matter how many connections there are, you will not be able to scan any more than exactly 1000 profiles.
Once the search has finished, you will see the number of profiles recorded has now increased and it is showing as 614 Profiles recorded, the same number as my search produced.
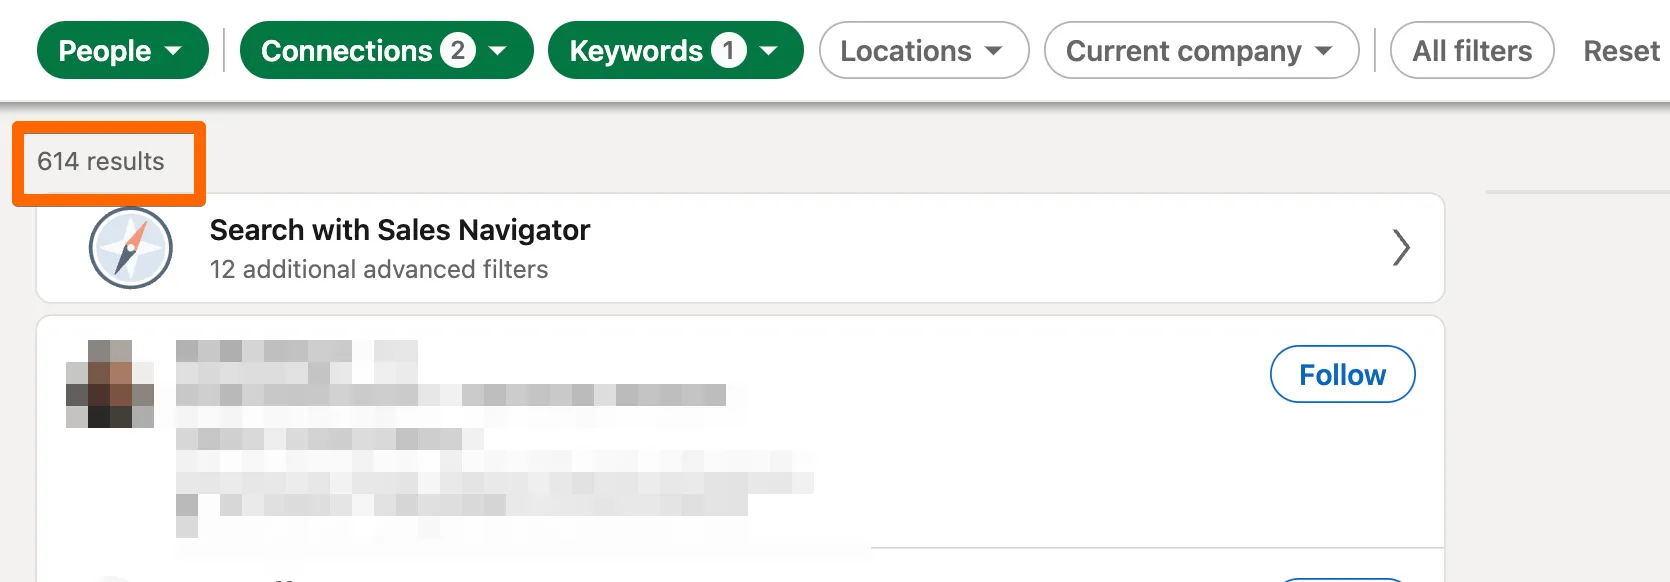
I now have 614 Profiles scanned and the next step is downloading this data.
Step 3: Download!
Just a quick pointer here, before you download any data, you may want to run step 1 & 2 again but change the search criteria. For example, you could add new industries, locations, job titles, or even add 3rd degree connections also. The outcome of this will be a new set of connections for you to scan. Set yourself a target of maybe 2500 profiles to scan and keep repeating steps 1 and 2 until you have got a good set of data.
When you are ready and have a large database of profiles visited, click on the Dux-Soup icon and you will see that the number of profiles visited has increased. Next, click ‘Download data’

and you will see the following pop up:
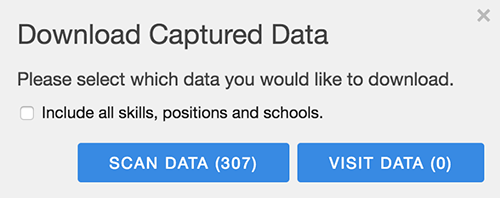
You have only been scanning data so choose ‘scan data’. Apologies for stating the obvious but just want to be sure :)
Click Scan data and a CSV file will be created. Click on the CSV file and you will see the following type of data:
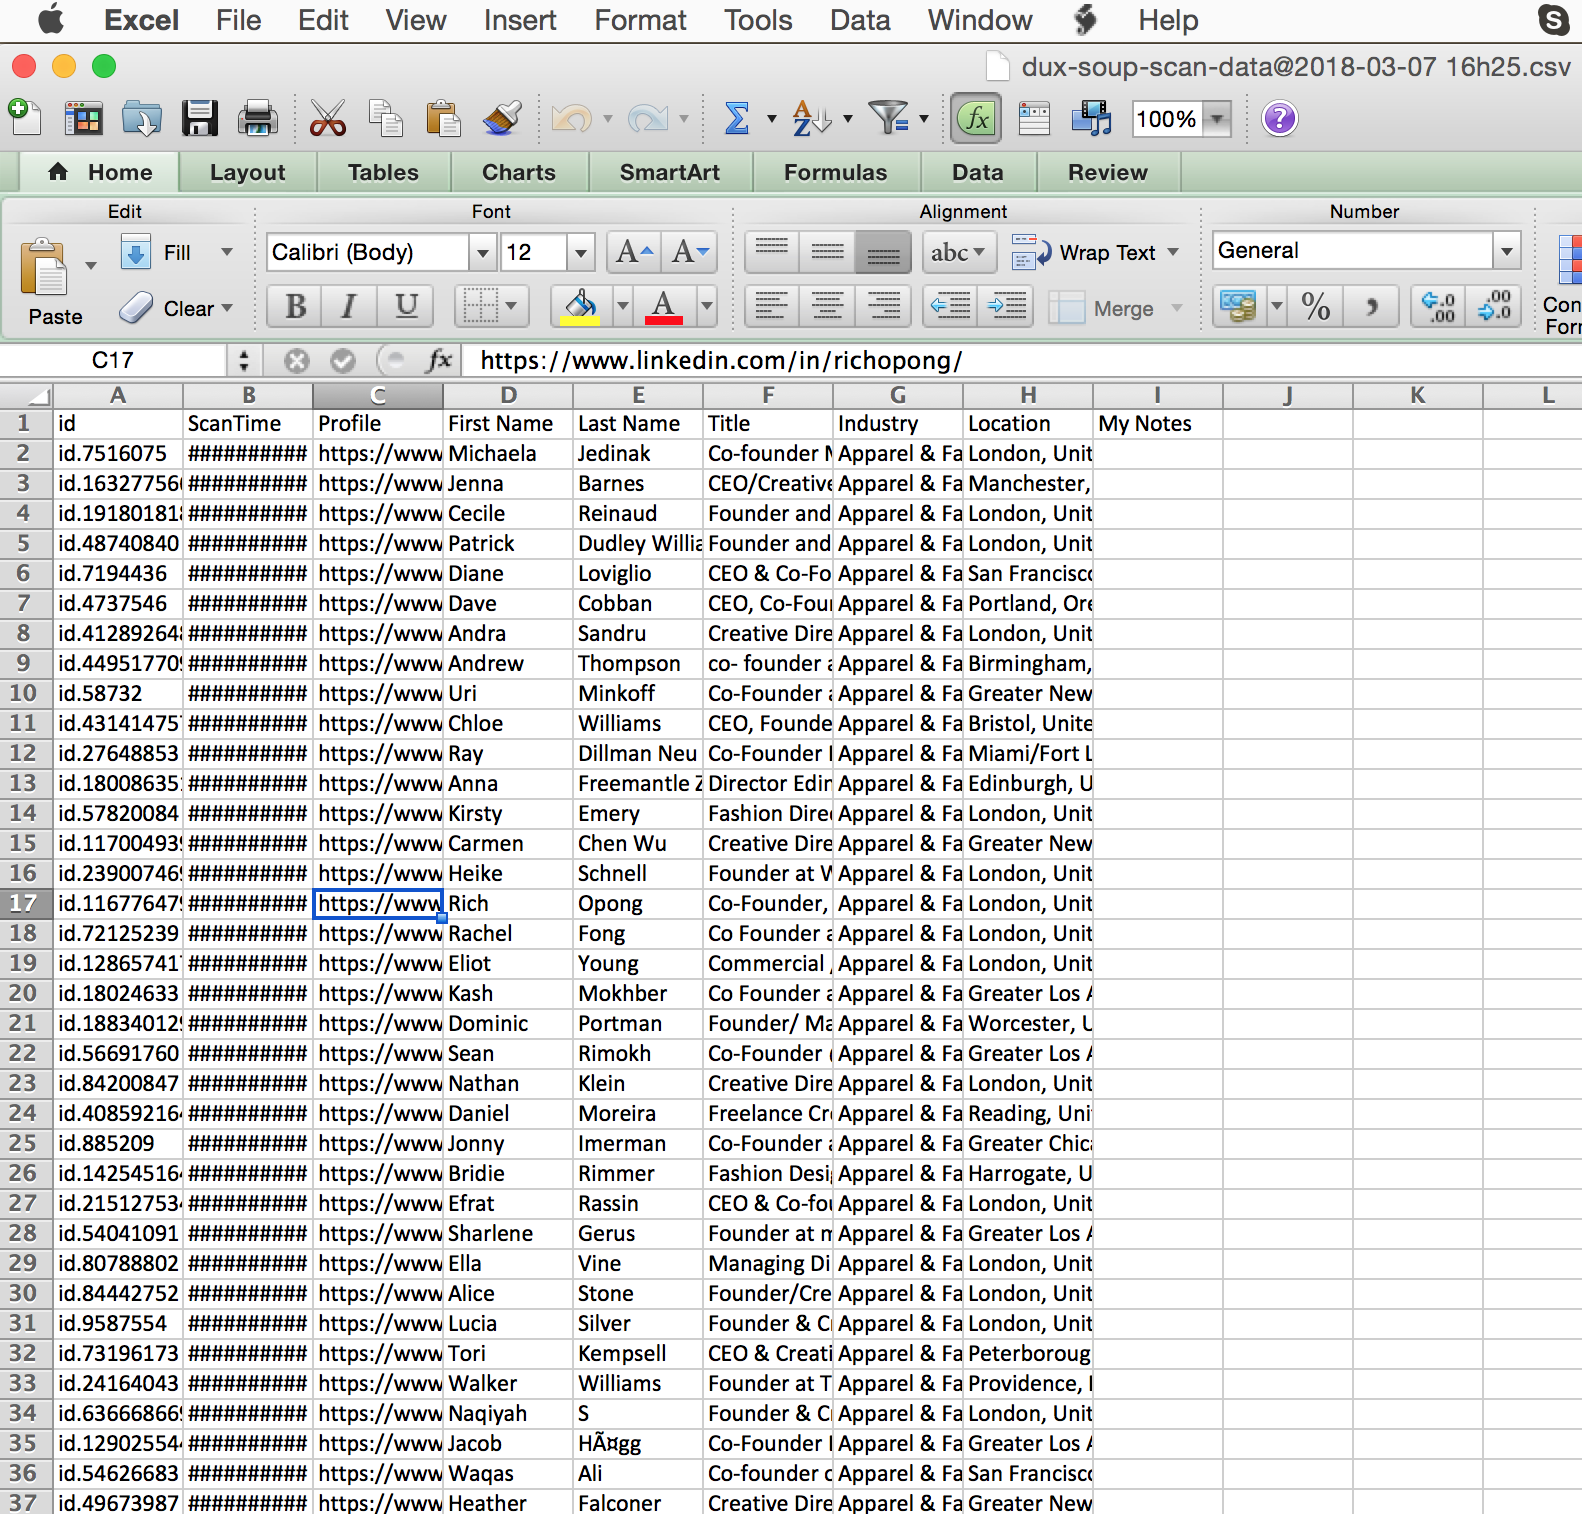
A point to note here is that you have not been visiting profiles and so you won’t have people’s email addresses, just their names and profiles, but that is all you need I promise!
Step 4: Tidy
“The difference between something good and something great is attention to detail”
Your Linkedin profile needs to last you for many years to come, and so you want to make sure that the people you connect with are always relevant. This makes complete sense both in terms of keeping your account high quality, but also people are much more likely to accept connections in similar industries and interests to you.
Therefore, whenever I download the data, I always scan through all of the data to double check if anyone has slipped through the net who I would not want to connect with. The easiest way to do this is just scan through the industries or job roles and see if there is anyone that looks out of place. If you are not sure about them, click on the LinkedIn profile and see if they are relevant. If all good leave them in, if they are not relevant, delete them from the spreadsheet.
This step is often missed out by people but I can’t stress enough how attention to detail to only targeting the right data can have a huge impact in the long run.
Step 5: Revisit
Now the moment you have all been waiting for, REVISIT THAT DATA!!! If you have spent a couple of hours / days or weeks building up a database, tidied it all up and you have the exact people you want to connect with now is the time to revisit the data.
To clarify, Revisiting Data means uploading a list of Linkedin profiles to Dux Soup that you want to visit and/or connect with.
To do this I would advise the following routine: (ps you could use tagging to do this instead of the following steps but I will highlight that in a seperate blog)
- Decide how many people you want to connect with, in my context 150 people per day
- On your CSV of data that you have downloaded, create an extra tab called ‘Dux Revisited’ (you can call this anything you want, this is just how I do it)

3. On tab 1 of your data, add a column called ‘Dux Revisited’ like this:

4. As I want to revisit 150 people per day, copy 150 people from the 1st tab on to revisit tab.
Quick Tip:
If you want to you could just upload the entire list and rely on the robot’s snoozing to stop and start until the list is done. This does require a dedicated computer probably as you need to leave it running.
5. On the 1st tab, update all of these 150 to have a status of Pending:
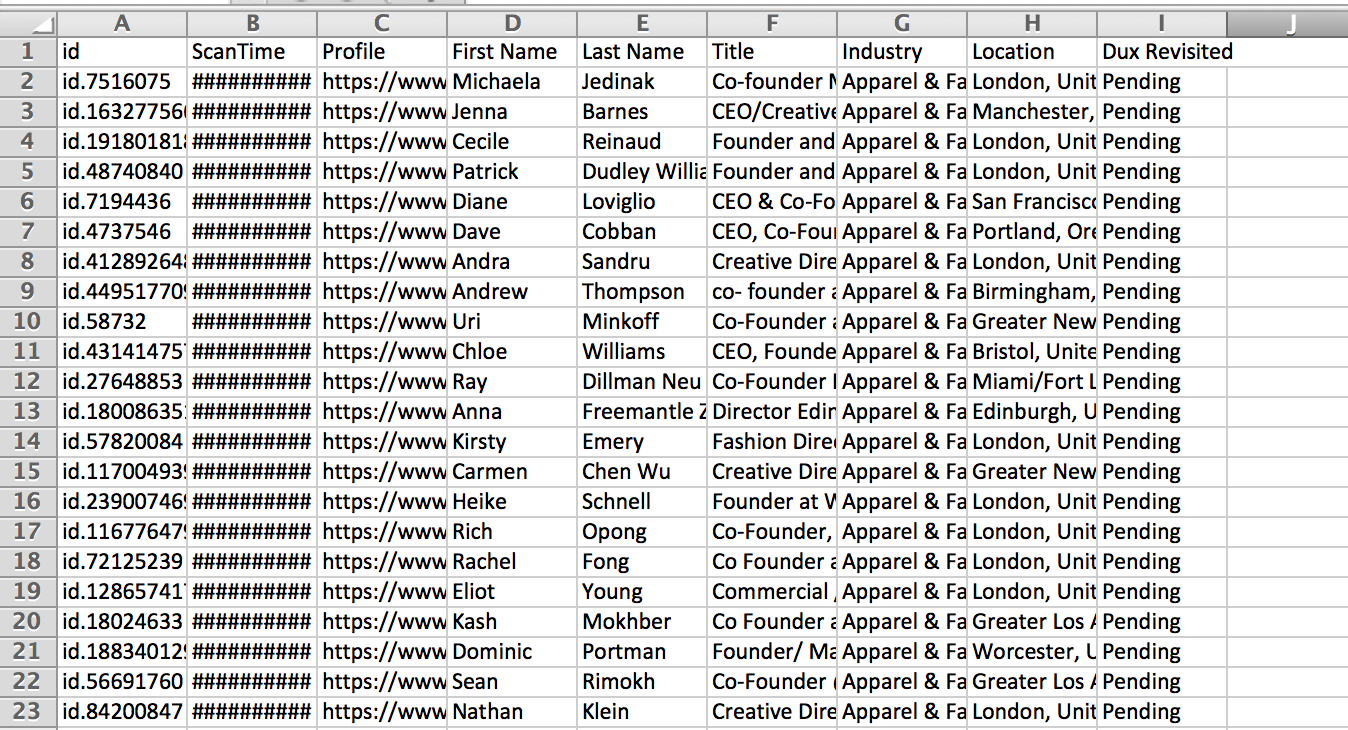
I do this so that I can easily keep track of who I have revisited and which data is new to revisit in the future.
6. On the second tab you have created called ‘Dux Soup Revisited’, you should now have 150 people to connect with (or however many you want to connect with per day) Click file, Save as, and choose CSV:

You now have the file ready to upload to Dux to revisit!

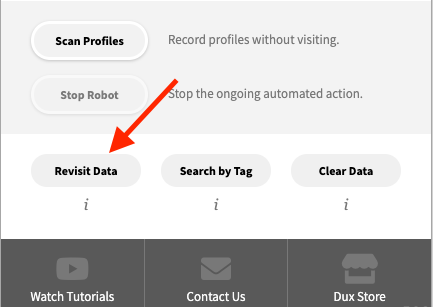
7. Go back to your linkedin profile, and once logged in click the Dux Soup Icon > Revisit Data:
Now you will be taken to the following screen:
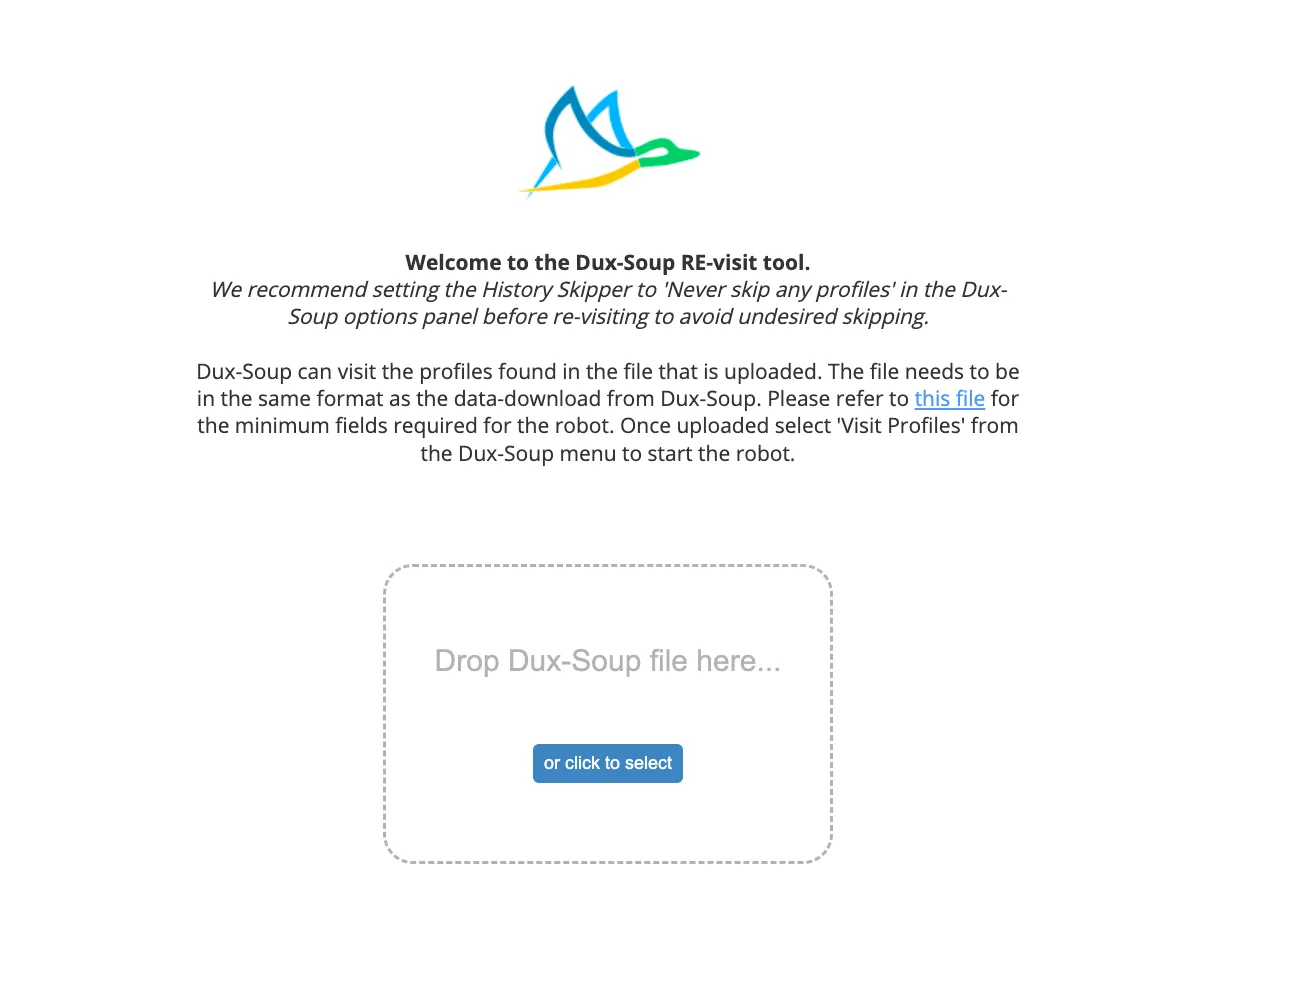
Remember that CSV file that you downloaded in Step 6? Just go to ‘click here’ and choose the CSV that you had downloaded.
And good old Dux will pop up in the top right hand side of your screen to let you know that he is ready!

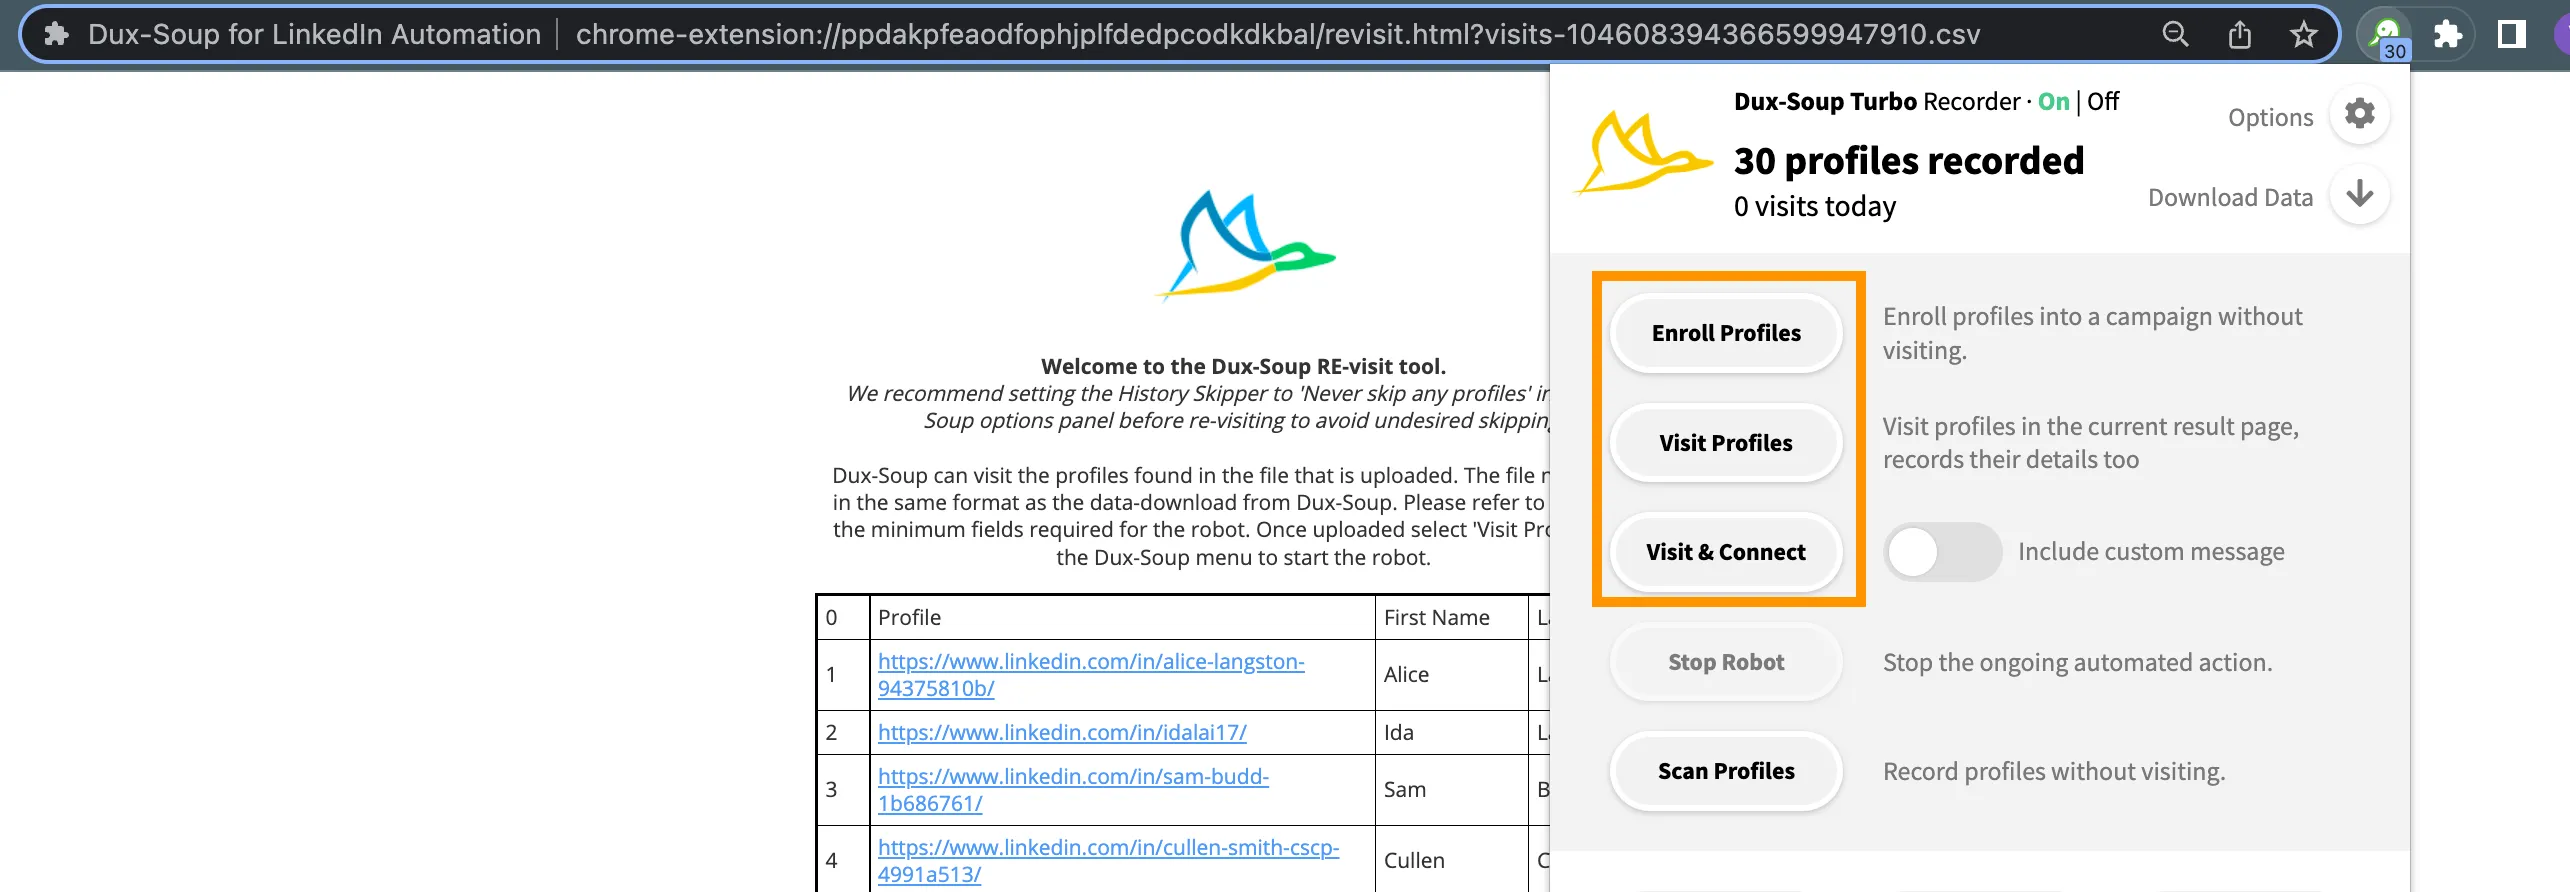
From here all you need to do is click the Dux Soup icon again, and this time choose 'Enroll Profiles', ‘Visit & Connect” or "Visit Profiles":
Quick Tip:
Make sure that in the options, you have enabled ‘Send connected requests and include a personalised message

The final message you will see is the option of Dux asking if you want to collect email addresses which is entirely up to you:
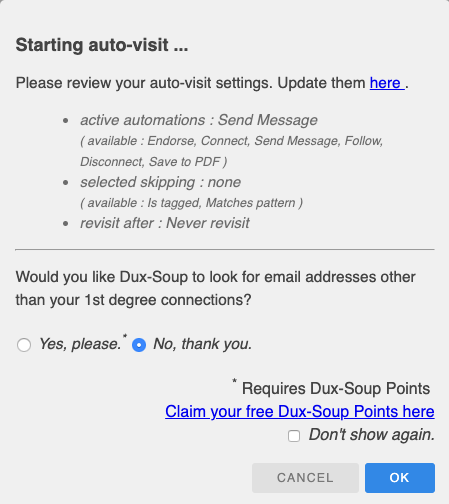
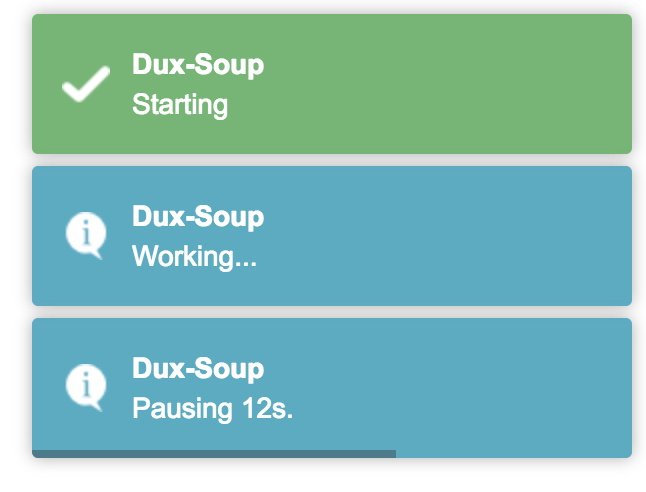
After that, you will see good old Dux getting to work and connecting with everyone from your list:
You are now an official Dux Soup Revisiter and part of a unique group of people!!! With these newfound skills you can always make sure that the people you are connecting with are perfect, highly targeted and relevant for you.
I would love to know how you use the scan and revisit feature to achieve the best results for you and as always get in touch with me at info@dux-soup.com or catch me on live chat on the site if you need any help!


